I have typed all this out and uploaded the pics with lots of connection failure in-between and realised I have posted it as a 'post' and not on the project 52 page! Doh. Was just so pleased with it I got carried away. So the project 52 page will be missing week 12 as it is here- on the main page. Without further ado, here's this week's make:
Wk 12- Bunny Play Overall
I saw this in Mollie Makes and thought it looked like a fun thing to make. I have also been making children's aprons for this coming craft fair and thought it may be timely for Easter to make a bunny version of this but as an overall/ apron

So I picked out some thick fabric in a salmon pink and laid it out on the floor. Using one of the girls pre-existing aprons, I drew abound the bottom and up to the arm holes to give me an idea of length and width etc.


I cut one template out and then drew around it to cut out the back section. I then turned over all the edges with a 1cm seam allowance to neaten the edges. 1st lesson for improvement learned here: use pinking shears as inside still looked a little messy :s (The Mollie makes dress was made of courderouy and fully lined so eradicates this issue but since I was only making an apron, I felt single lining was adequate).

I had some velour type material in white that I thought would be perfect for the bunny face. Using the template now cut out, i used this as a guide for the size of the bunny's face and drew the design in pencil on the back.....

And then cut it out although I did add lumpy cheeks and hair as I was cutting to make it more bunny-ish. It could have been a cat or mouse or anything at that point!

I laid it on top of the front piece and pinned it down to keep fixed in place while I sewed it down.

I used a zig zag stitch as the material had already begun to fray (I was wearing a black jumper and the fibres from the fabric had come loose so I looked like I had been hugging the real thing). Lesson number 2 for improvement, do not use this velour fabric! It takes too long to secure, neaten and re-stitch. I am going to try again with faux fur!


This is where the fun begins! I cut out the shapes for the facial details and played around with the size of the ear inners, nose size/ position etc. Once happy, I sewed them down.

I used black ribbon for the eyes and whiskers. Lesson number 3 for improvement- Do not use ribbon as it too, frays. A lot!

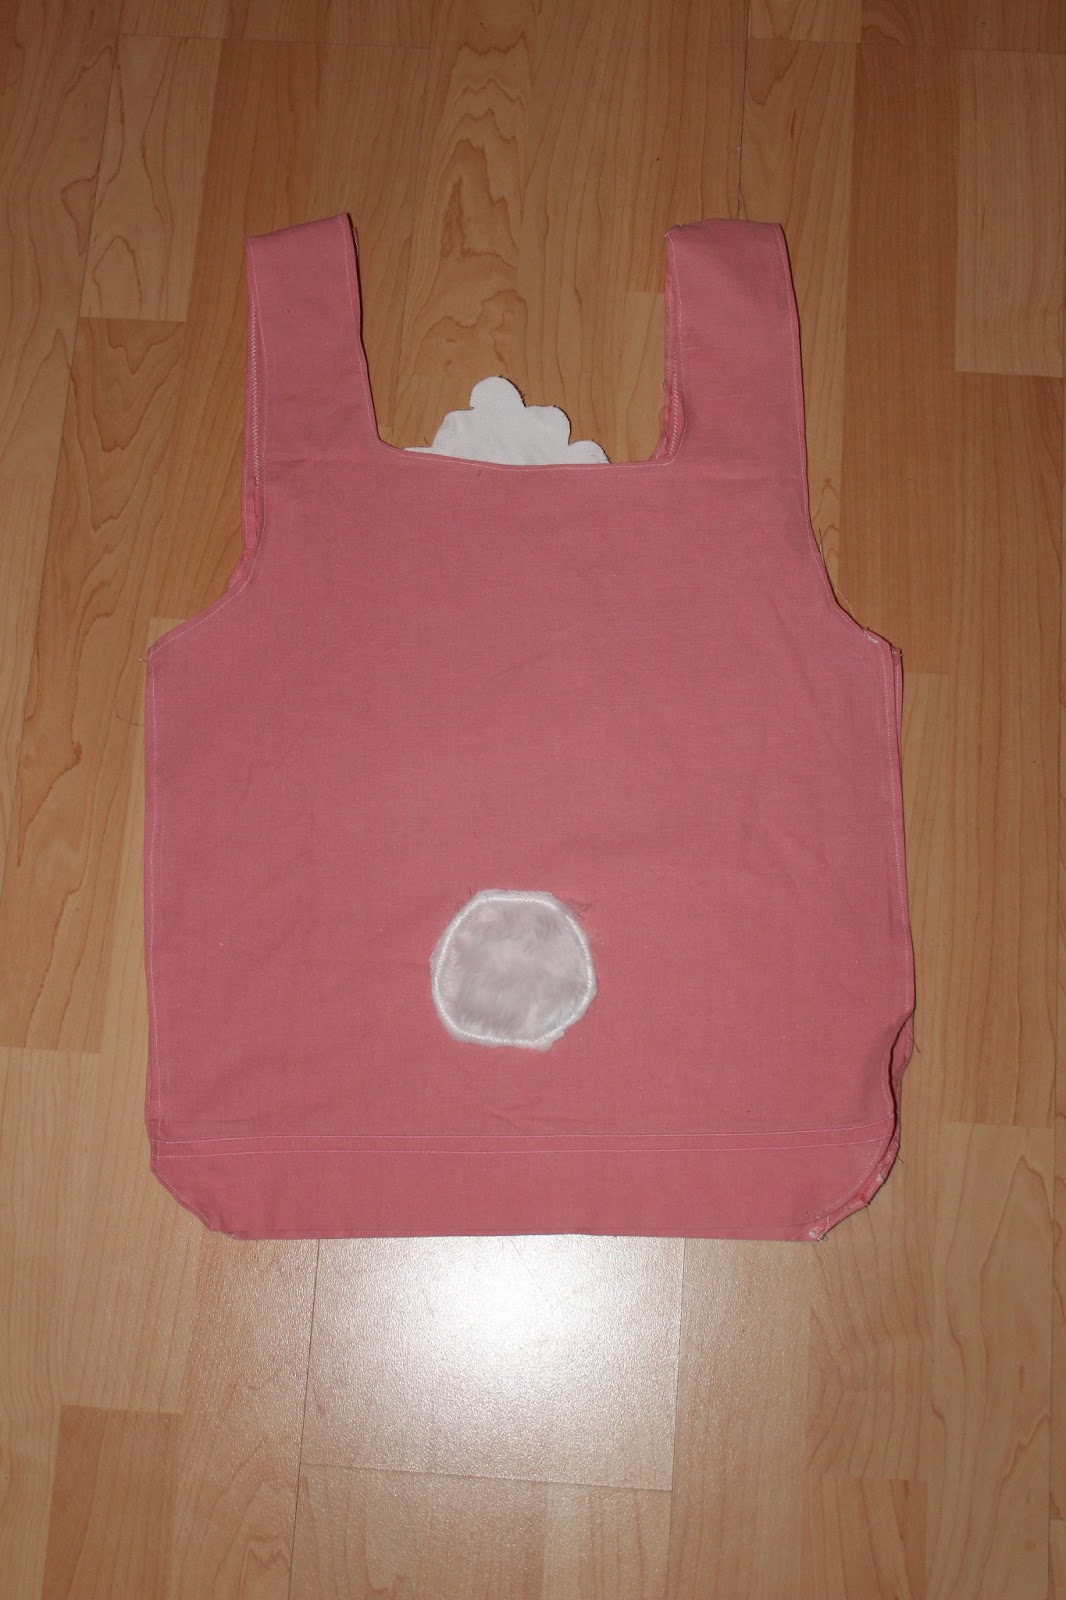
I also added two cotton teeth under the straight edge after this pic was taken. My finishing touch had to be the little faux fur tail on the back. A little circle, zig zag stitched onto the back near the bottom.

I can't wait to get the girls to model some pics of this for me and then I can also make adjustments for length and width. I think the future ones will be cotton aprons with just a few fur details like ears and tails (like the Mollie Makes version) but for my 1st template- I am chuffed with this!

No comments:
Post a Comment